How do I customize my event page?
Last Updated: Feb 3, 2021 10:12AM PST
Looks like you’re ready to make your event page look awesome – so let’s do it! We recommend starting by reviewing your details, adding a description, videos and linking to social media.
1. Log In to your Events.com account.
2. In your event, click on EDIT in the upper right navigation.

3. You can edit your event’s basic information at any time. This includes the information you entered when you first created your event (event name, type, category, location, date, and time).
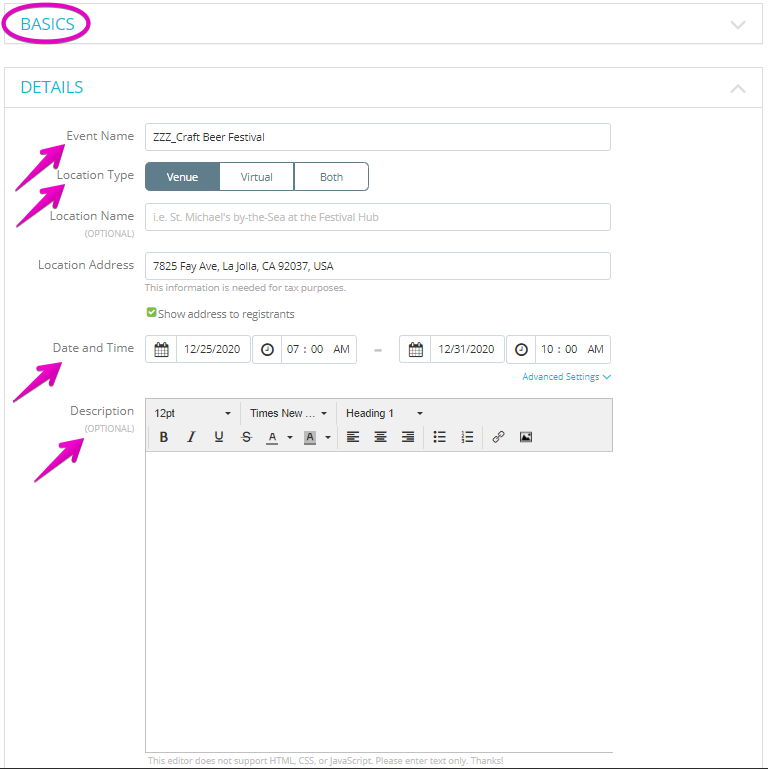
4. We recommend that you add a description to your event to include further information such as:
– Schedule of events
– Parking
– What to bring
– Hotel accommodations
Note: You can add images, and links to your description.
5. After you’ve finalized your details, go back up to the right corner and click on DESIGN.

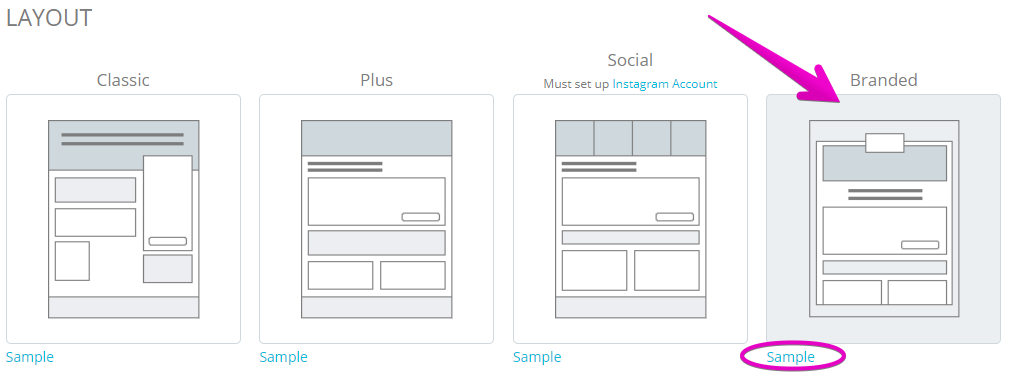
6. Select a layout by clicking the thumbnail. Clicking Sample below each layout will show you an example page to give you an idea of what your page will look like.
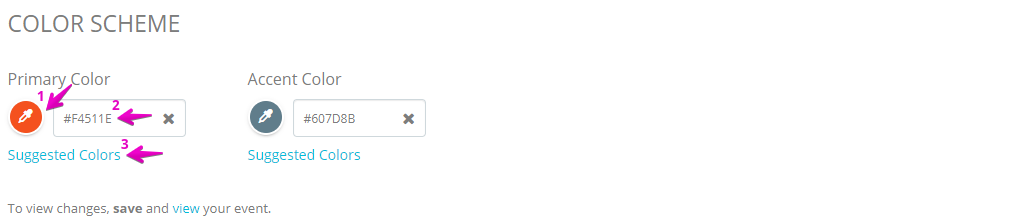
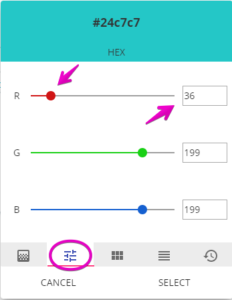
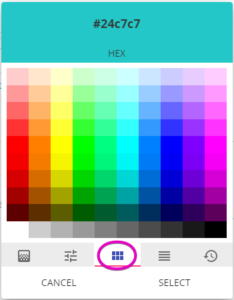
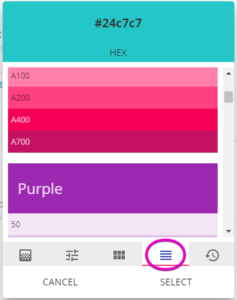
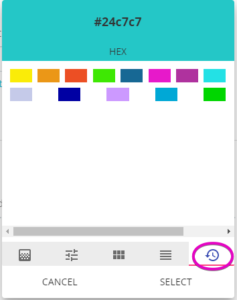
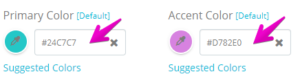
7. Personalize your COLOR SCHEME. There are three ways to set your primary and accent colors on your page.
The eyedropper opens a multi option color picker.
- Color Spectrum tab
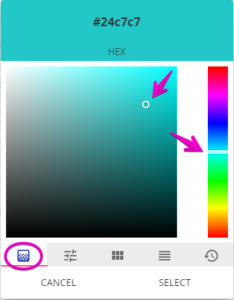
- RGB Sliders tab
- Generic Palette tab
- Material Design Palette tab
- History tab
In the second spot, if you know your brand’s hex color code, you can enter it into the hex fields to add the color(s).
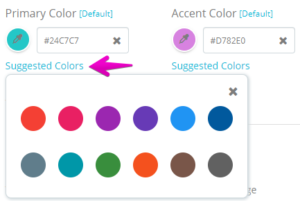
The third option is to open the Suggested Colors. This gives you a quick list of popular colors to choose from.
8. Upload a BANNER IMAGE that is 2732 x 700 pixels
9. For the BACKGROUND IMAGE, either upload an image that is 1920 x 1045 pixels or use a blurred version of your BANNER IMAGE

10. Upload an EVENT LOGO that is 544 x 200 pixels. This is displayed on the top of the banner (positioning can be viewed in the layout sample). Please email our support team at help@events.com if it’s not available for you
11. Click SAVE before leaving the page
Now you can click PREVIEW or VIEW to see your custom page!