How do I add/remove others to help manage my organization on Events.com?
Last Updated: Apr 23, 2021 08:49AM PDT
Events.com wants to make sure your entire team is able to take advantage of our platform to streamline day-to-day operations. However, we understand not everyone in your team needs access to every portion of your event(s). In an effort to simplify access management and your team’s operations, we built a tool for you to invite team members and grant access to permissions based on the role you assign them. To invite users to help manage your organization, follow the steps below!
1. Log In to your Events.com account.
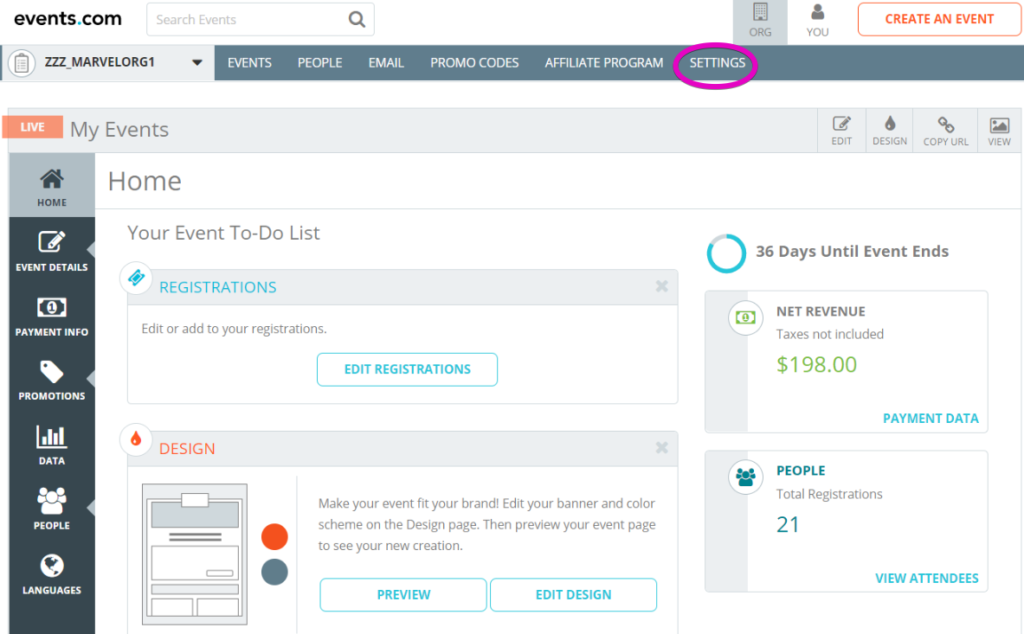
2. Click on SETTINGS in the top navigation bar.

3. Then select USER MANAGEMENT in the left hand tool menu.

5. Once you invite someone to your organization, they will receive a confirmation email. An inactive Events.com account will be created for them if they did not already have one.
Below are permissions for each role that you can assign to team members. Users with an Owner or Accountant role will have access to all events, and all others roles can have access limited to one or more events within your organization.
- Owner: Total access to the entire organization and all associated events.
- Manager: Total access to one or more events only.
- Coordinator: Broad access to one or more events, but cannot access financial information.
- Assistant: Limited access – can manage event goer orders/info, view limited reports and manage post-registration options.
- Accountant: Limited access Рcan view transaction related and manage payment options. Has access to all associated events.
- Timer: Minimal access Рcan view registration reports only.
Note:¬† At any time, you can change a user’s role to update their permissions or remove them from your organization. Additionally, you can invite as many people to help manage your organization as you’d like.