How do I sign my electronic signature on a brand new waiver added by the event organizer?
Last Updated: Feb 3, 2021 09:54AM PST
There are many reasons why a new waiver is a good idea. There could be a change in logistics, or new circumstances to include. Waivers can be really informative for attendees. If the event you’ve signed up for has added a required Electronic Signature you will need to finish this step. There are two different ways that you can open your waiver and add your Electronic Signature:
First Way:
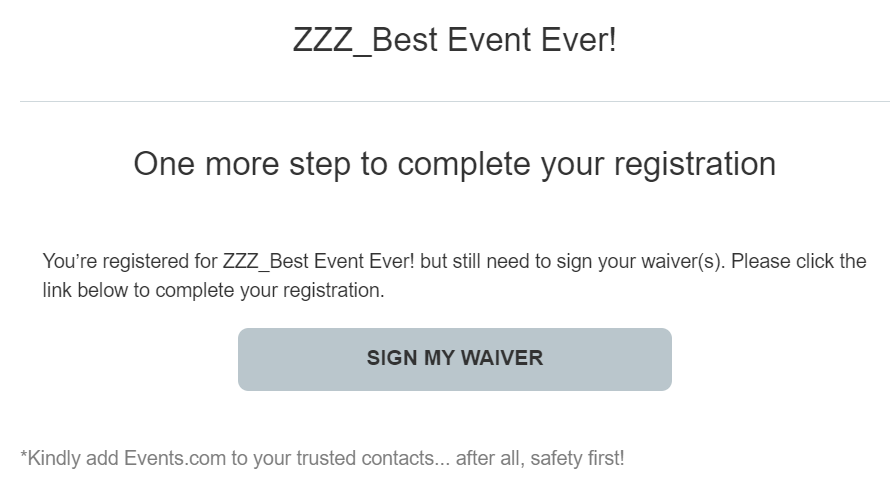
1.  You can start by clicking the link in your reminder email. You will need to either Log In or Sign Up (with the email used on your registration)

2. Your order will open right to the spot where your signature is needed. Click the name of the waiver to read the waiver. Then enter your full name and click SAVE. You’ll see a pop up confirming your info is saved. And the page will refresh and show you your waiver confirmation.


Second Way:
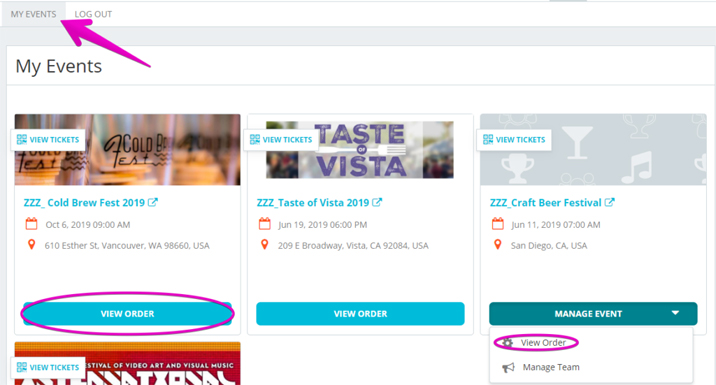
1. Log In to your Events.com account. If this is your first time, click Sign Up and create an account with the same email used on your registration.
2. Find the event you are attending and click on VIEW ORDER.  If you are on a team, you must first click on MANAGE EVENT and then select VIEW ORDER.

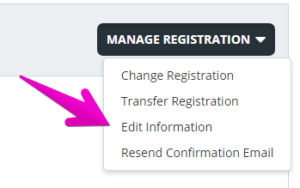
3. Click on the MANAGE REGISTRATION (or TICKET) button and select Edit Information or View Information. 

4. Your waiver will be at the very bottom. Scroll down, and after you’ve read the waiver, type in your full name as your Electronic Signature.
5. Click SAVE. You’ll see a pop up confirming your save and then the page will refresh to show the signed waiver confirmation.