Creating Your Event Calendar
Last Updated: Oct 11, 2023 11:08AM PDT
This article will walk you through the process of creating your event calendar, how to customize it to best fit your website, and how to white-label the calendar for users. Follow the steps below to get started:
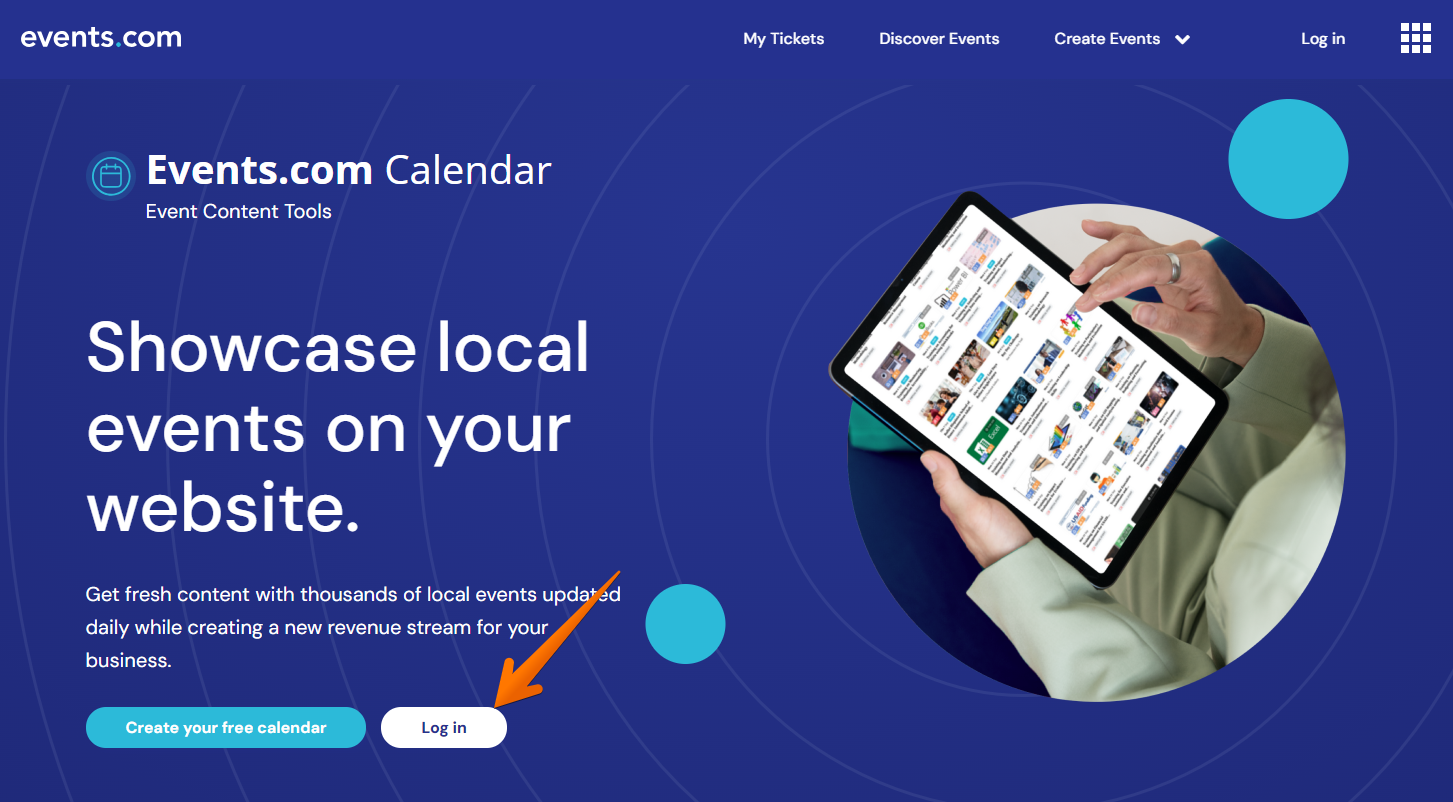
- Navigate to the Events.com Calendar homepage where you can learn more about the product: events.com/calendar
- Once on the Calendar homepage, you will want to click the ‘Log In‘ button in the top right corner.
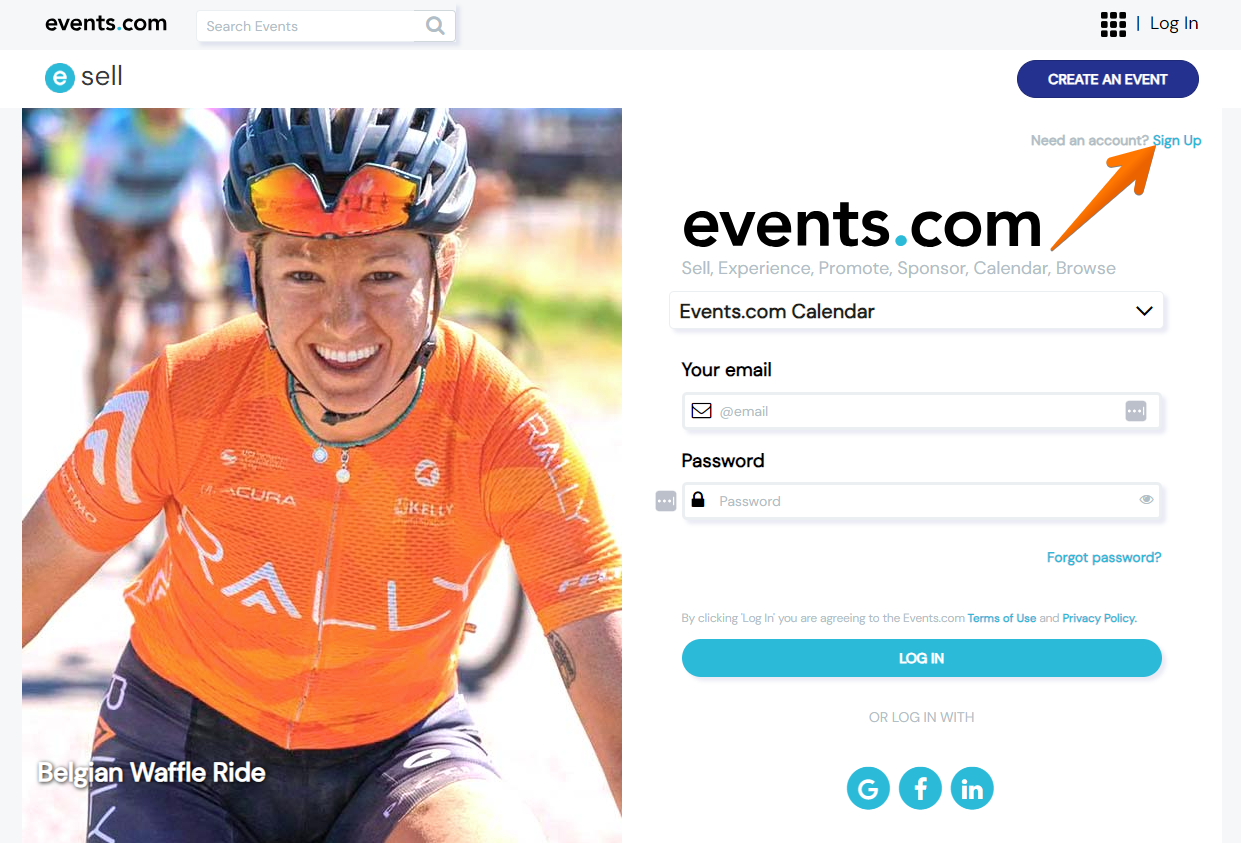
- If you do not have an Events.com Account, click the ‘Sign-up’ button in the top right corner, otherwise fill out your login credentials
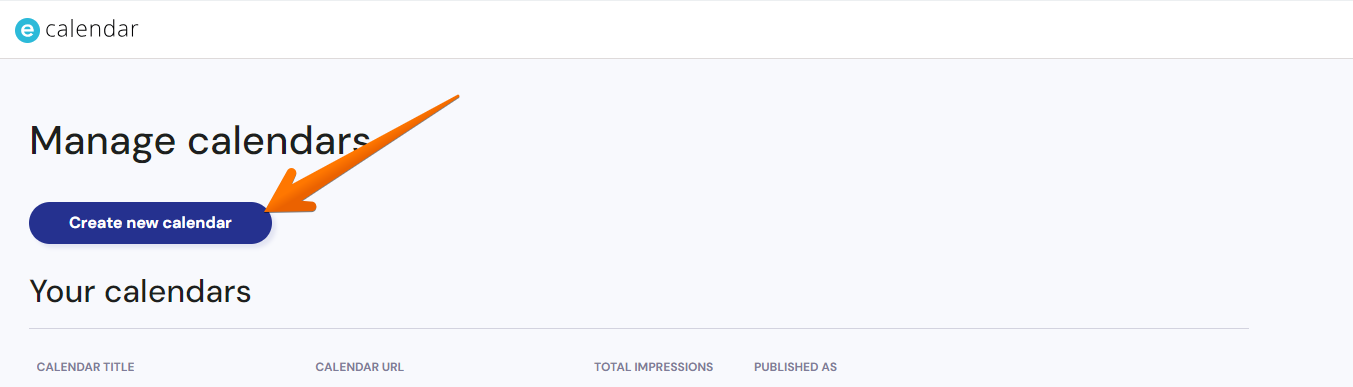
- Once logged in to your account, you will want to click on the ‘Create Calendar‘ button located in the right corner.
- When on the Create a Calendar page, you will want to add a logo that best represents your brand or company.
- Next, you will need to add a name for the calendar that will reflect your brand or company (ex. Events.com Calendar, Tucson Event Calendar, San Diego Community Calendar, etc)
- The ‘Publish as‘ field does not need to be changed as this just reflects it will be in your account

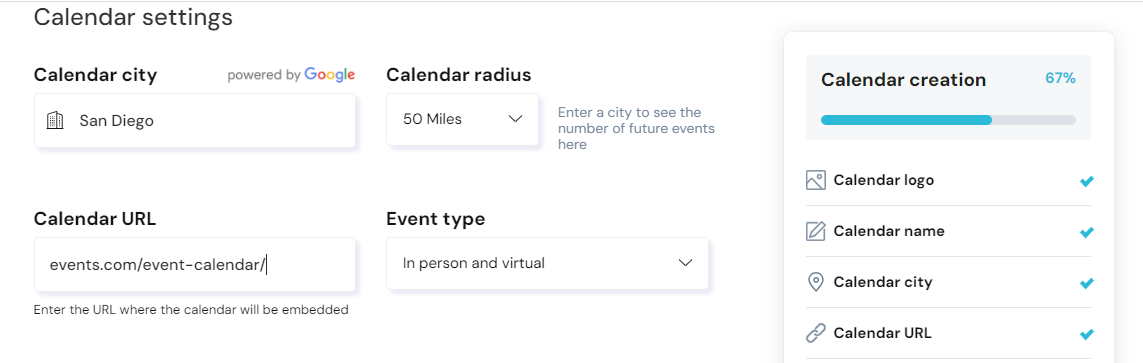
- When deciding on the Calendar City, you will want to enter the city where your brand or company is located to target events in that area
- The Calendar Radius will let you choose how far away you would like to pull in events from. We recommend 25-50 miles for this.
- For the Calendar URL, you will want to include the page URL for where the calendar will be on your website (ex events.com/event-calendar/)
- Event Type will allow for you to decide where you want to show either In-person Only, Virtual Only, or both types of events when users visit your calendar page.
- The Primary and Secondary colors should reflect the scheme of your website. The Primary will be used throughout the calendar (Add Event Button, Drop Down Arrows, Select A Date, etc). The Secondary color will be when users hover over the Add Event Button.

- For the Calendar Categories, you can select all of the tags in a specific category or pick and choose which tags you would like to have from each category. This selection will allow you to customize what type of events will be shown on your event calendar
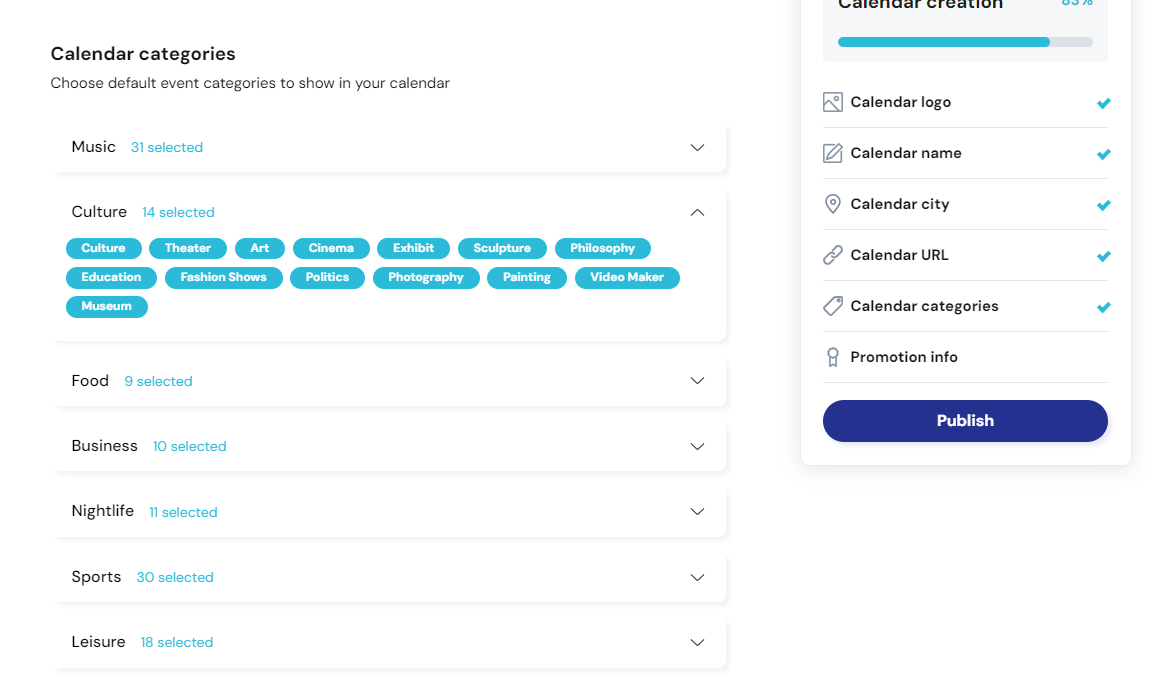
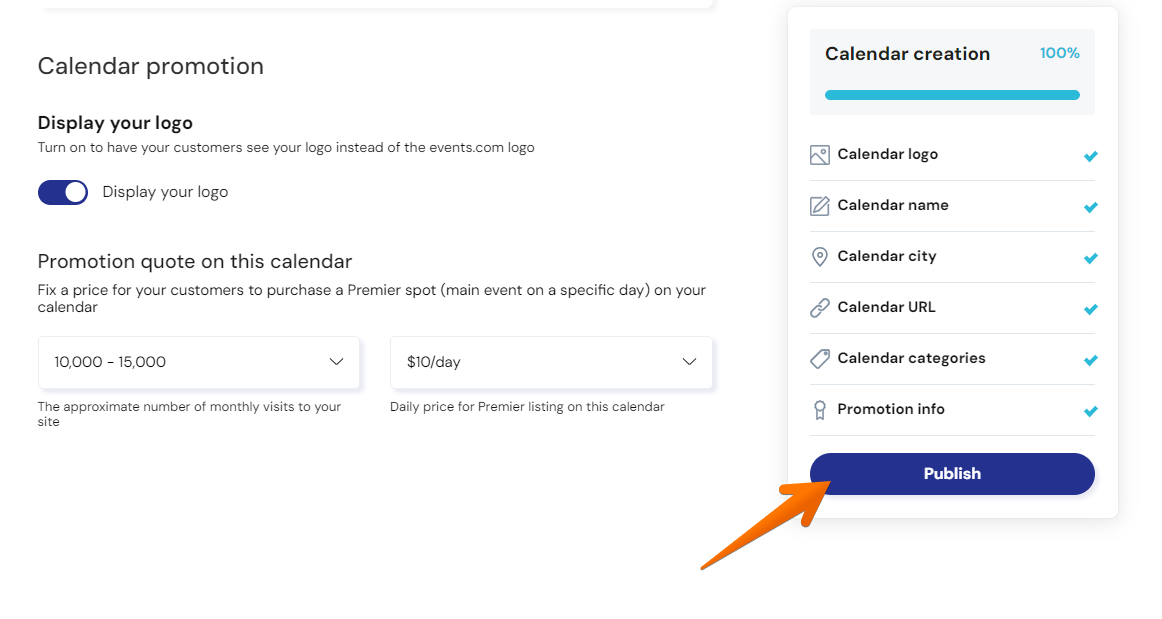
- The Display Logo will be turned on by default as this will allow you to give users a white-labeled experience when they go to Events.com from your calendar to add or promote their events.
- In the promotion section, you will want to estimate the amount the traffic that goes to your website and how much you want a Premier Ad to cost. A Premier ad on your calendar will give users a bigger tile space in the featured events section and goes a per-day cost. When first starting out, we recommend that you stay between $10-$30 for this.
- After you have added all the necessary information, you can click ‘Publish‘ to create your calendar
Additional help articles on how to embed your calendar: Full Calendar Widget & Small Calendar Widget