How do I create a digital event page?
Last Updated: Feb 18, 2021 04:22PM PST
Virtual content has become extremely important and often includes some additional info or links to share after someone has completed their order. We’ve recently added a secure way to share this with your attendees through the new Digital Event Page. This page gives you the space to add in some details and share some links with your participants. After they sign up, they are able to access the page within their Events.com accounts from their order. When you’re ready, you can start customizing your Digital Event Page with these steps:
1. Log In to your Events.com account and navigate to your event.
2. In your event, click EVENT DETAILS and then Digital Event Page.

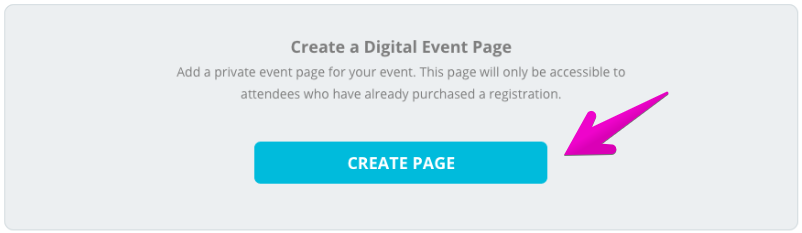
3. Click CREATE PAGE to get started! The toggle to Make Digital Event page visible to Attendees is defaulted to YES. If you’re not ready to share the page, you’ll want to toggle to NO.
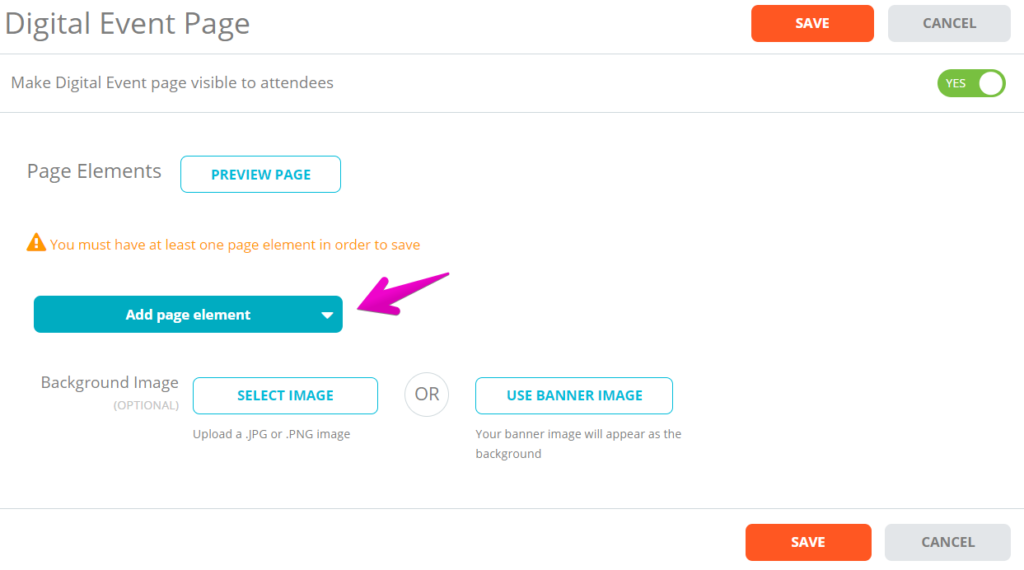
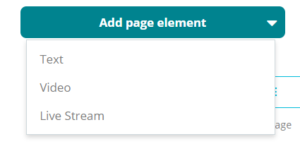
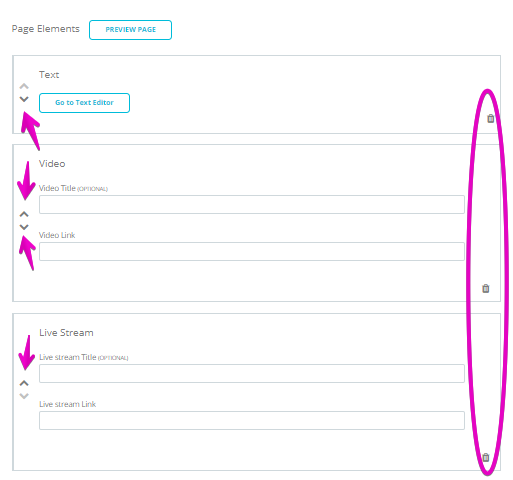
There are three page elements available to help you build your digital event page. Text for adding text or images, with or without hyperlinks in the Text Editor. You can add Video for an optional title and video link (to be embedded for viewing) or Live Stream for an optional title and streaming link. Click Add page element to get started. You can also add a Background Image. If your event page has a banner, you’ll have the option to USE BANNER IMAGE. If you didn’t have one, or would like to use something else, you’ll have the option to SELECT IMAGE. Click Preview Page to see how your page will appear to your attendees. Use the arrows on the left to move your page elements around, or the trash cans on the right to remove an element completely. You can add as many of each page element as you’d like for your Digital Event Page.
4. When finished, click SAVE. This page will now appear within your attendees’ Events.com accounts! (If your toggle was set to NO, your progress will be saved for later)
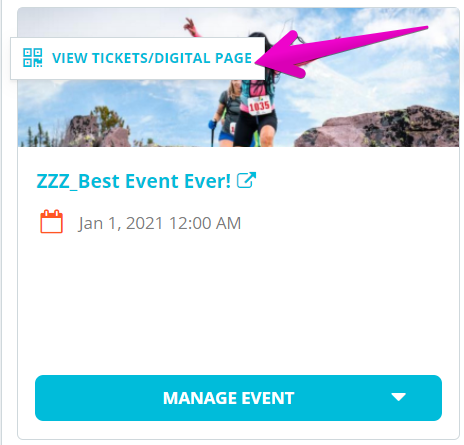
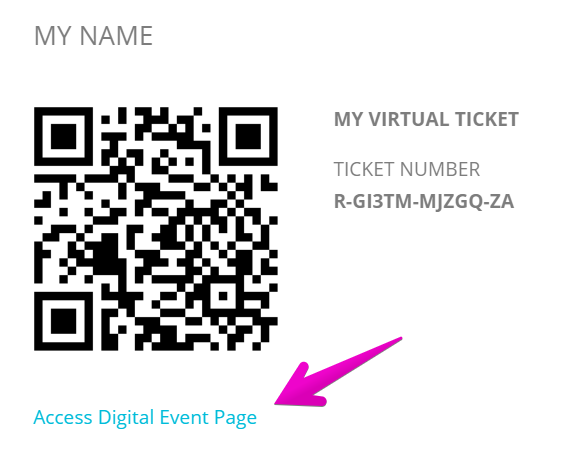
Attendees can access the Digital Event Page from within their Events.com accounts.
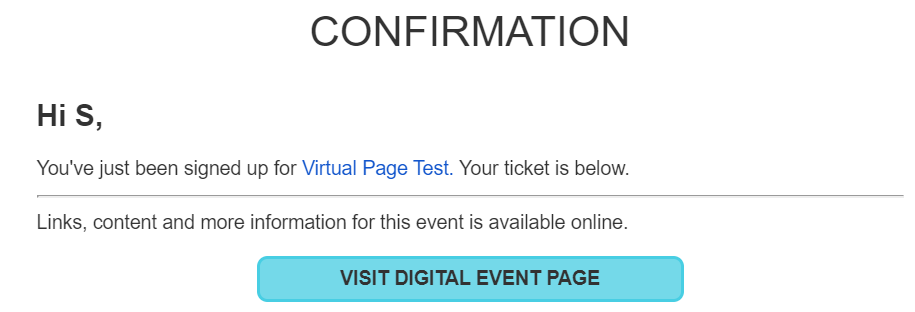
Or by clicking the link within their confirmation emails (attendees will need to Sign Up if they haven’t already created an account).
Pro Tip: If you have added another language to your event, you will also be able to offer your Digital Event Page in that language as well.