How do I deck out my event page?
Last Updated: Feb 3, 2021 10:13AM PST
It’s time to deck out your Event page! Add imagery, details of your event, and social media links to engage your attendees.
1. Log In to your Events.com account.
2. To deck out your event, in the top right corner select DESIGN for step 3 or EDIT for steps 4-6.

3. Add a banner image (OPTIONAL). Drag an image to the “Drag to Upload” section within the dotted line, or click the SELECT IMAGE button. This image will serve as your event’s banner image.
Note: We recommend choosing something without text since the image could be cropped on certain devices.

4. Choose a category (OPTIONAL). A category for your event type helps your attendees search and pinpoint what type of event you are throwing. (e.g. A Race event could have a Cycling category type). Add as many categories that apply to your event.

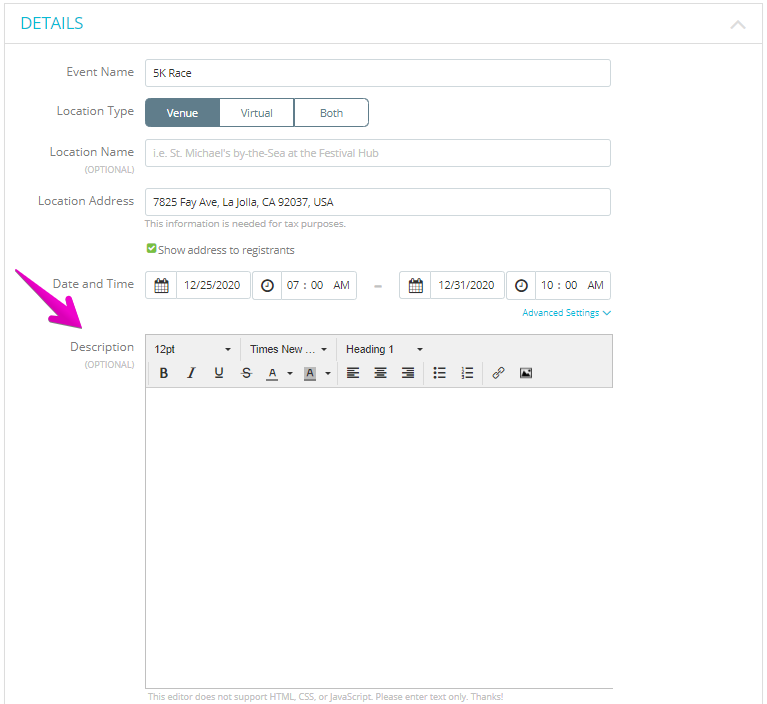
5. Add a description (OPTIONAL). Add a description of your event and any important details you want to share with your attendees.
6. Add website and social media links (OPTIONAL).
- Add your event website url (Note: the http:// is already included, so add the URL starting after this.
- Add your social media links. (Note: Instagram and Twitter only require your handles (e.g. @eventsdotcom). Facebook requires the full Facebook URL)
