How do I send communication to my active attendees?
Last Updated: Feb 3, 2021 09:53AM PST
As an Event Organizer, you may want to email your attendees some new or last minute information. Our Email Active Attendees feature will let you do just that! Please contact our Customer Success team at help@events.com to request access for your event and then you’ll be ready to follow the steps below!
1. Log In to your Events.com account.
2. As an organizer your first screen will be your organization data. You can select between your LIVE, DRAFT, and COMPLETED events and find the event for which you want to assign attendee numbers.
3. Click¬†PEOPLE¬†on the event card to open your Attendees page. Or PEOPLE and then Attendees, if you’re already inside your event.

4. Click the ATTENDEE ACTIONS drop down button on the right side and select Email Active Attendees.

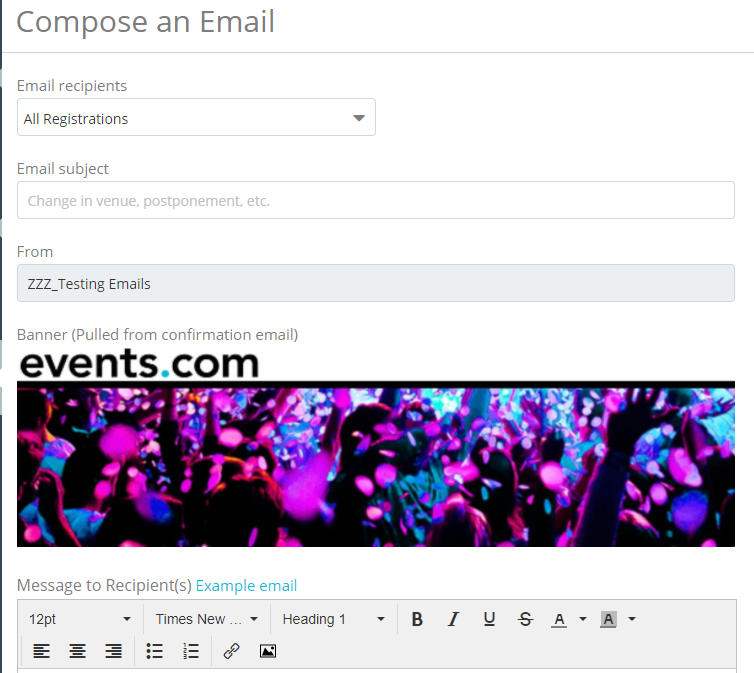
5. Click COMPOSE AN EMAIL to open the email editor.

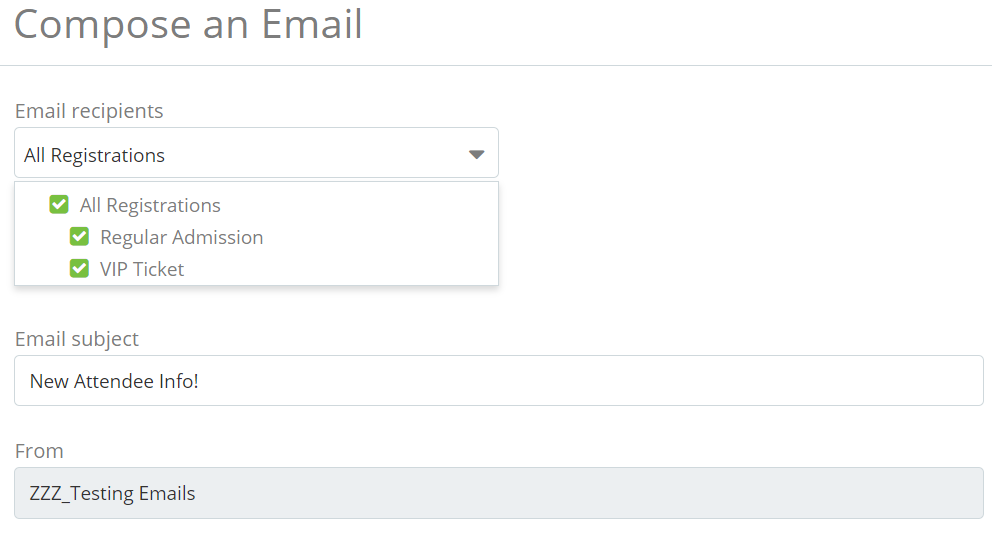
6. You can segment your Email recipients from your list of registrations/tickets and add a unique subject for your Email subject. Your event name will display in the From field.
7. Your Message to Recipient(s) can be customized with images, stylized font, alignment, lists and hyperlinks.
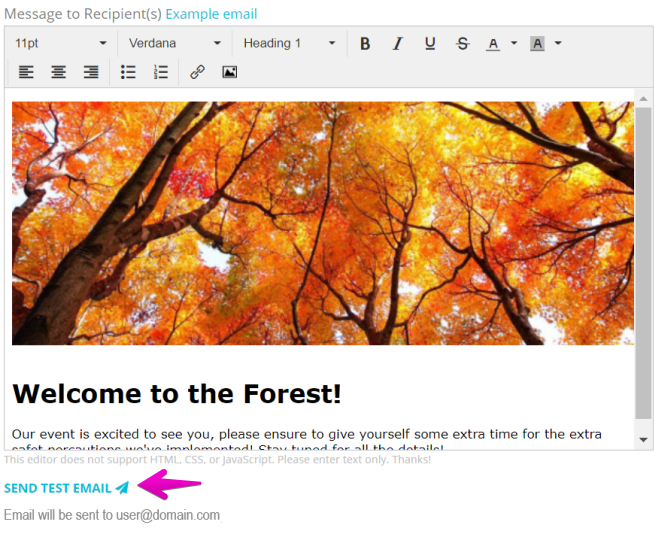
You have the option to send yourself a test by clicking SEND TEST EMAIL. It will deliver to the email of the logged in user.
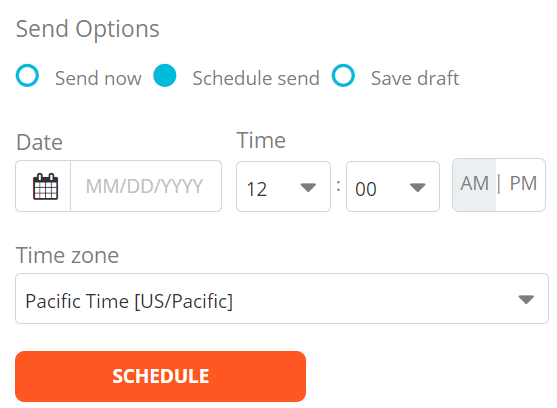
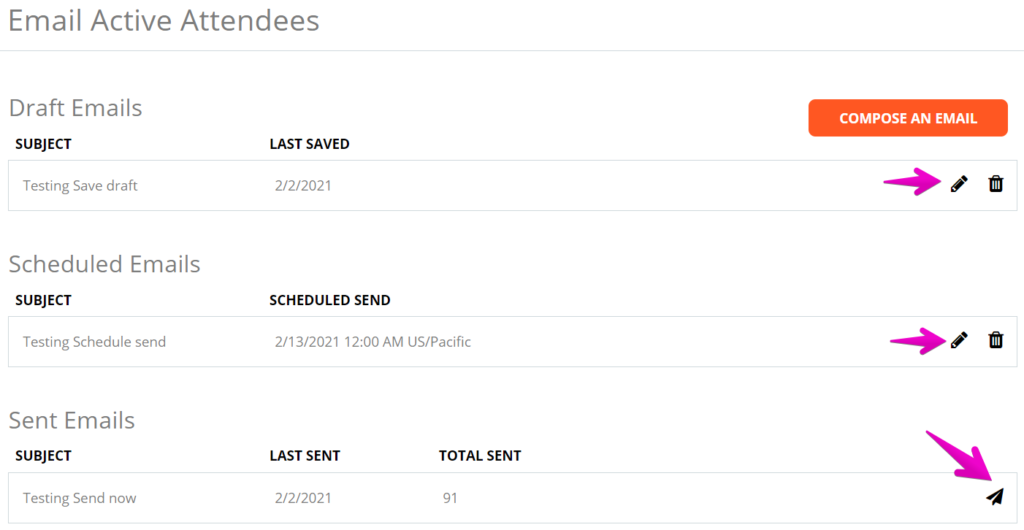
When you finish your message, you have the options of Send now, Schedule send or Save draft. Clicking Send now will send your email to all of your active attendees in real time. After sending it will be available in your list and can be sent to new attendees. Schedule send will allow you to select the date and time you want your message to be sent. You can edit your message or change the date or if left it will send out on your set date/time. When you Save draft, you can also open your message later to edit to Send now or Schedule send.
Pro Tip: If you have a banner added to your Custom Confirmation Message, it’ll be added automatically for you to use in your communication to active attendees. (You can edit your Custom Confirmation Message, by opening Custom Confirmation from your Event Details tab)
