How do I turn on corporate groups?
Last Updated: Apr 20, 2021 01:05PM PDT
Turning on Corporate Groups is quite easy to do and only takes a few steps to complete! Follow the steps below to find out how to turn this feature on!
1. Log In to your Events.com account.
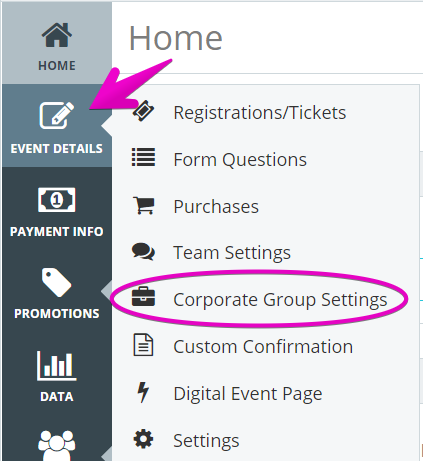
2. In the left hand navigation click EVENT DETAILS and select Corporate Groups Settings.
3. In the top right corner toggle the setting to ON. If you are unable to, you will first need to create Registrations/Tickets. Click here to see how to add Registration/Tickets to your event.

4. Once turned on, you may customize the name of the group by entering a name in the Customize Terminology field.
5. In the Apply To field, click on the drop down menu option to select the tickets that you want to apply to this group.

6. By default the Minimum Size of the group will be set to 1 and you may also set a Maximum Size or leave it blank to have an unlimited group size. The maximum is the sum of all the combined registrations /tickets.
7. You may also toggle Require Access Code to YES to require buyers to create a unique code that their group members will need to know to fill their spot. The individual purchasing the Corporate Group would create their group’s unique code during their order.

8. Press SAVE to finalize your choices! Corporate Group (or your custom terminology) will now be displayed as an option on your event page. *Individual and/ or Team will appear based on your Team Settings.
