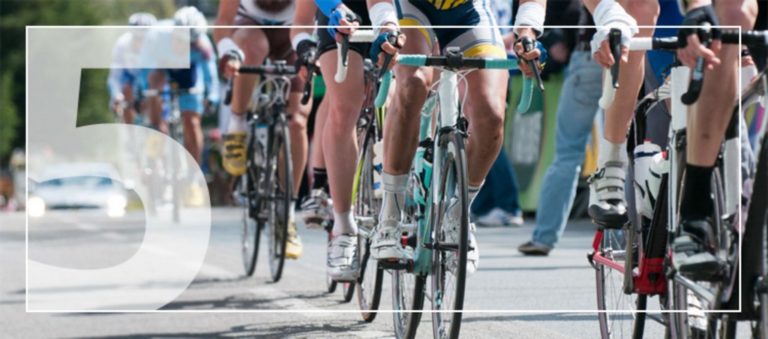
Your event page is one of the main driving forces behind an event, and it can make a significantly larger difference than many people may initially believe. If your event webpage isn’t logically structured or doesn’t contain specific and relevant information, you likely won’t garner much interest from potential attendees. The same is true if this page doesn’t include a strong mix of text and visual media (images, videos, etc.) or doesn’t reflect your brand.
Make sure that your page is easily digestible on a mobile device. According to digital design company InVision, 85% of adults believe an organization’s website when viewed on a mobile device should look as good or better than it does on a desktop. Events.com is a mobile-first platform that is designed to allow attendees to easily purchase tickets from any device. Ultimately, you want to ensure that your event page stands out above the millions of other web pages for events. Consider the main pieces of information you want your target audience to glean and focus on this to maximize your ticket sales.
Here is a guide to designing a unique event page using the Events.com platform.
Choosing a template for your event page
Branded
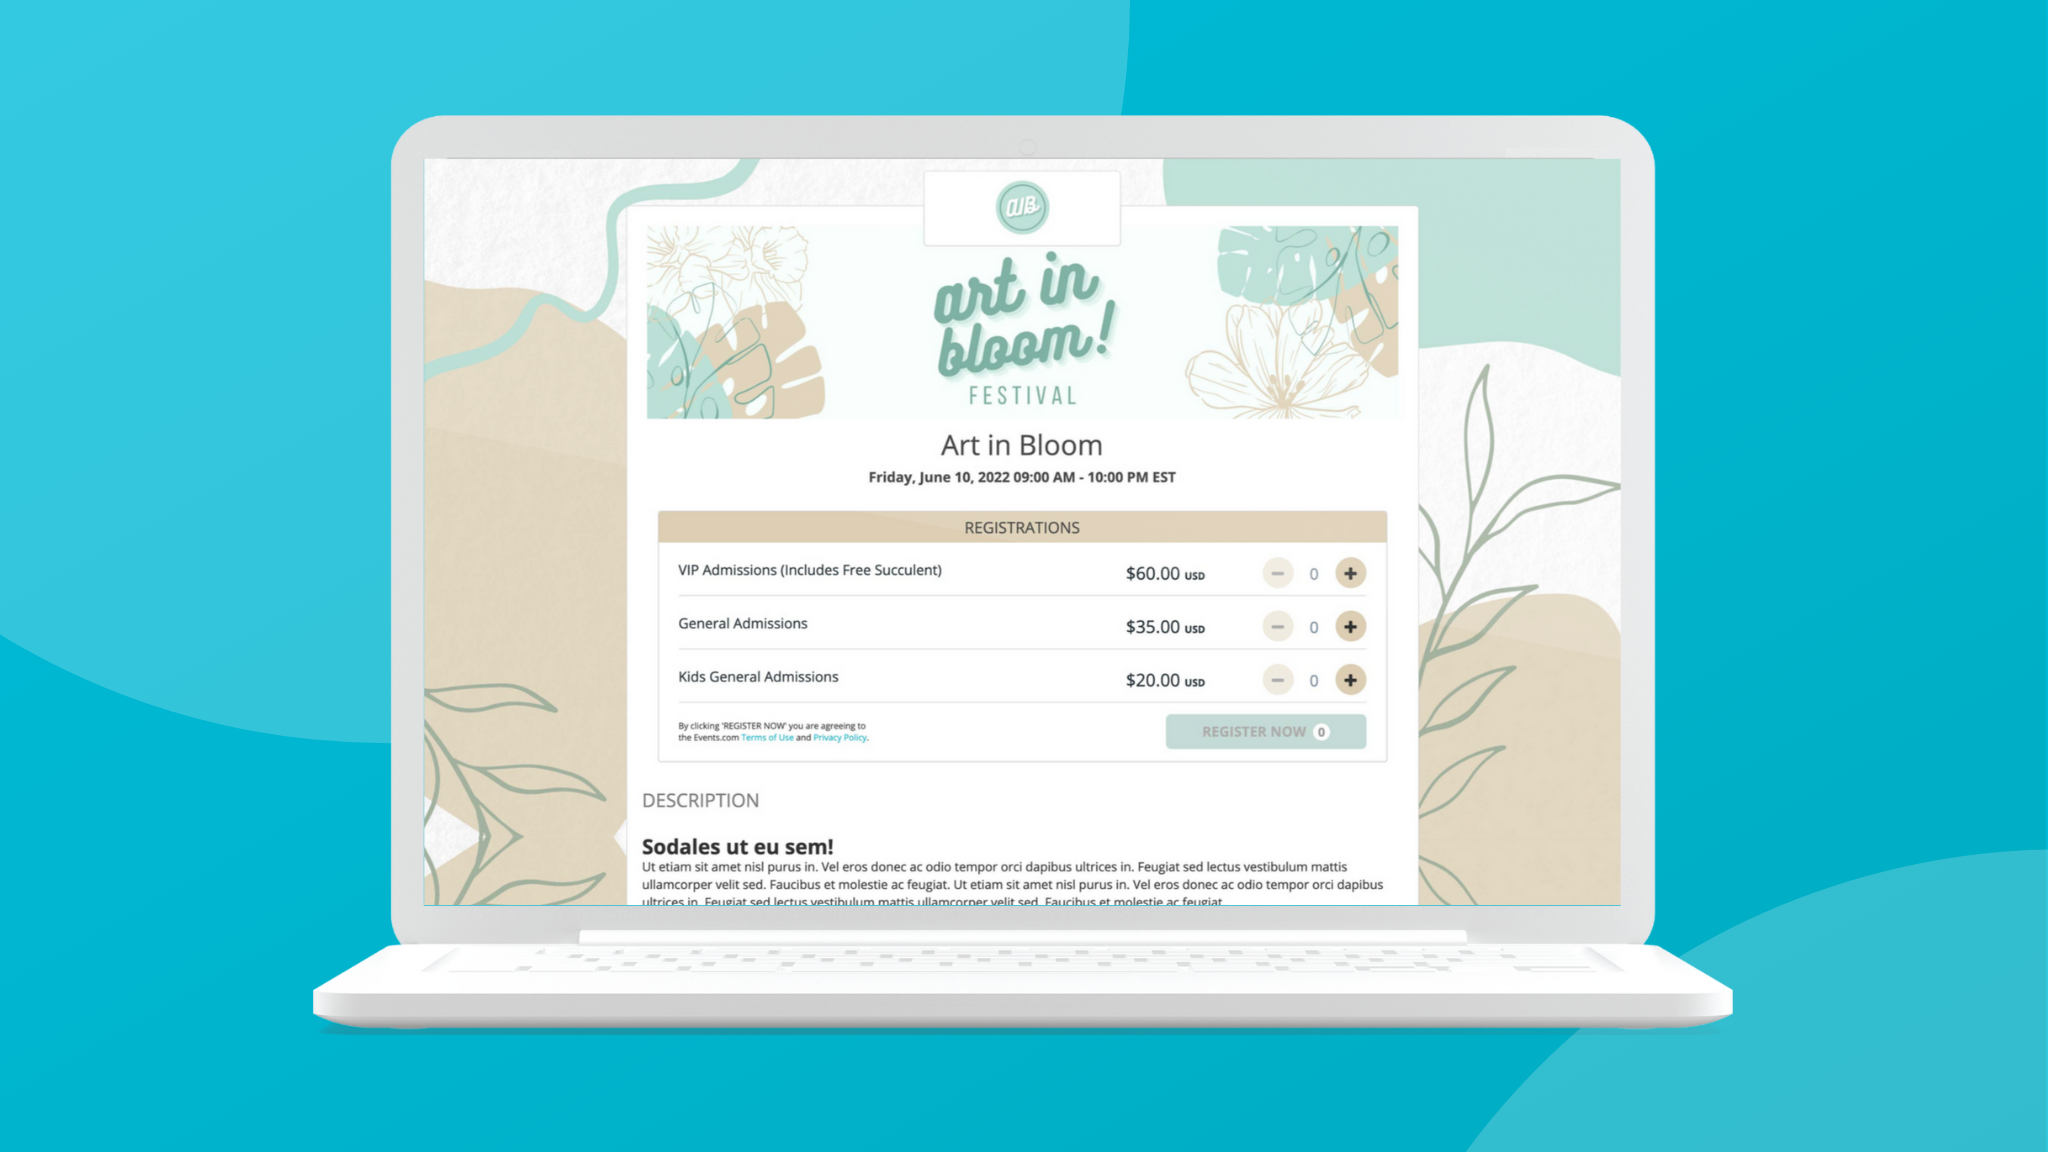
Let’s start by choosing a template: we recommend selecting our “branded” template. Choosing this design will allow you to showcase your event logo, add an eye-catching background and pick your custom event colors. With the “branded” template, you can most clearly represent your brand and organize the components of your event ticketing page in a clean way.

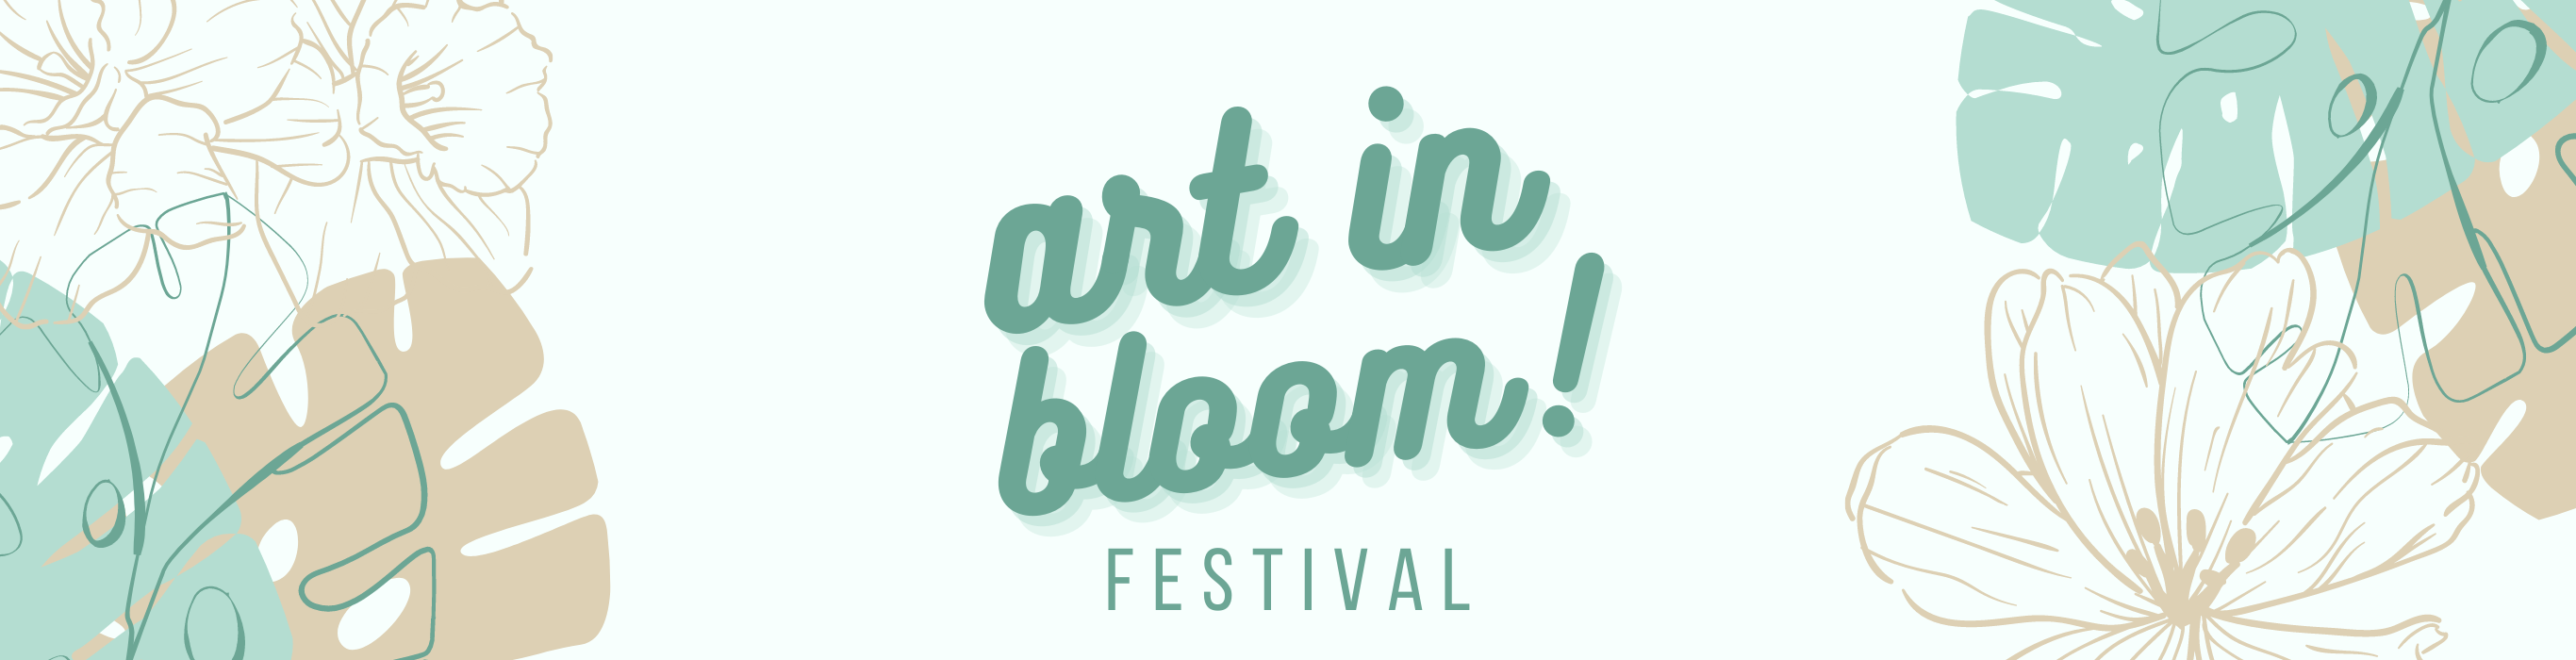
Uploading your events banner image, background image, and logo
Once you’ve selected a template, the next key step involves choosing a design for the two main components of your EDP that most people will see first when visiting your page: the banner image and the background. The banner image should include the name of your event and a simple yet appealing image or graphic that shows why the event is unique.
Banner image Tips:
- Size: 2732 x 700 pixels
- Leave 25px of space at the top of the banner for the logo image
- Choose a high-resolution image
- Banner image does not need to include your logo or event date (those will be in other spots on your event page)
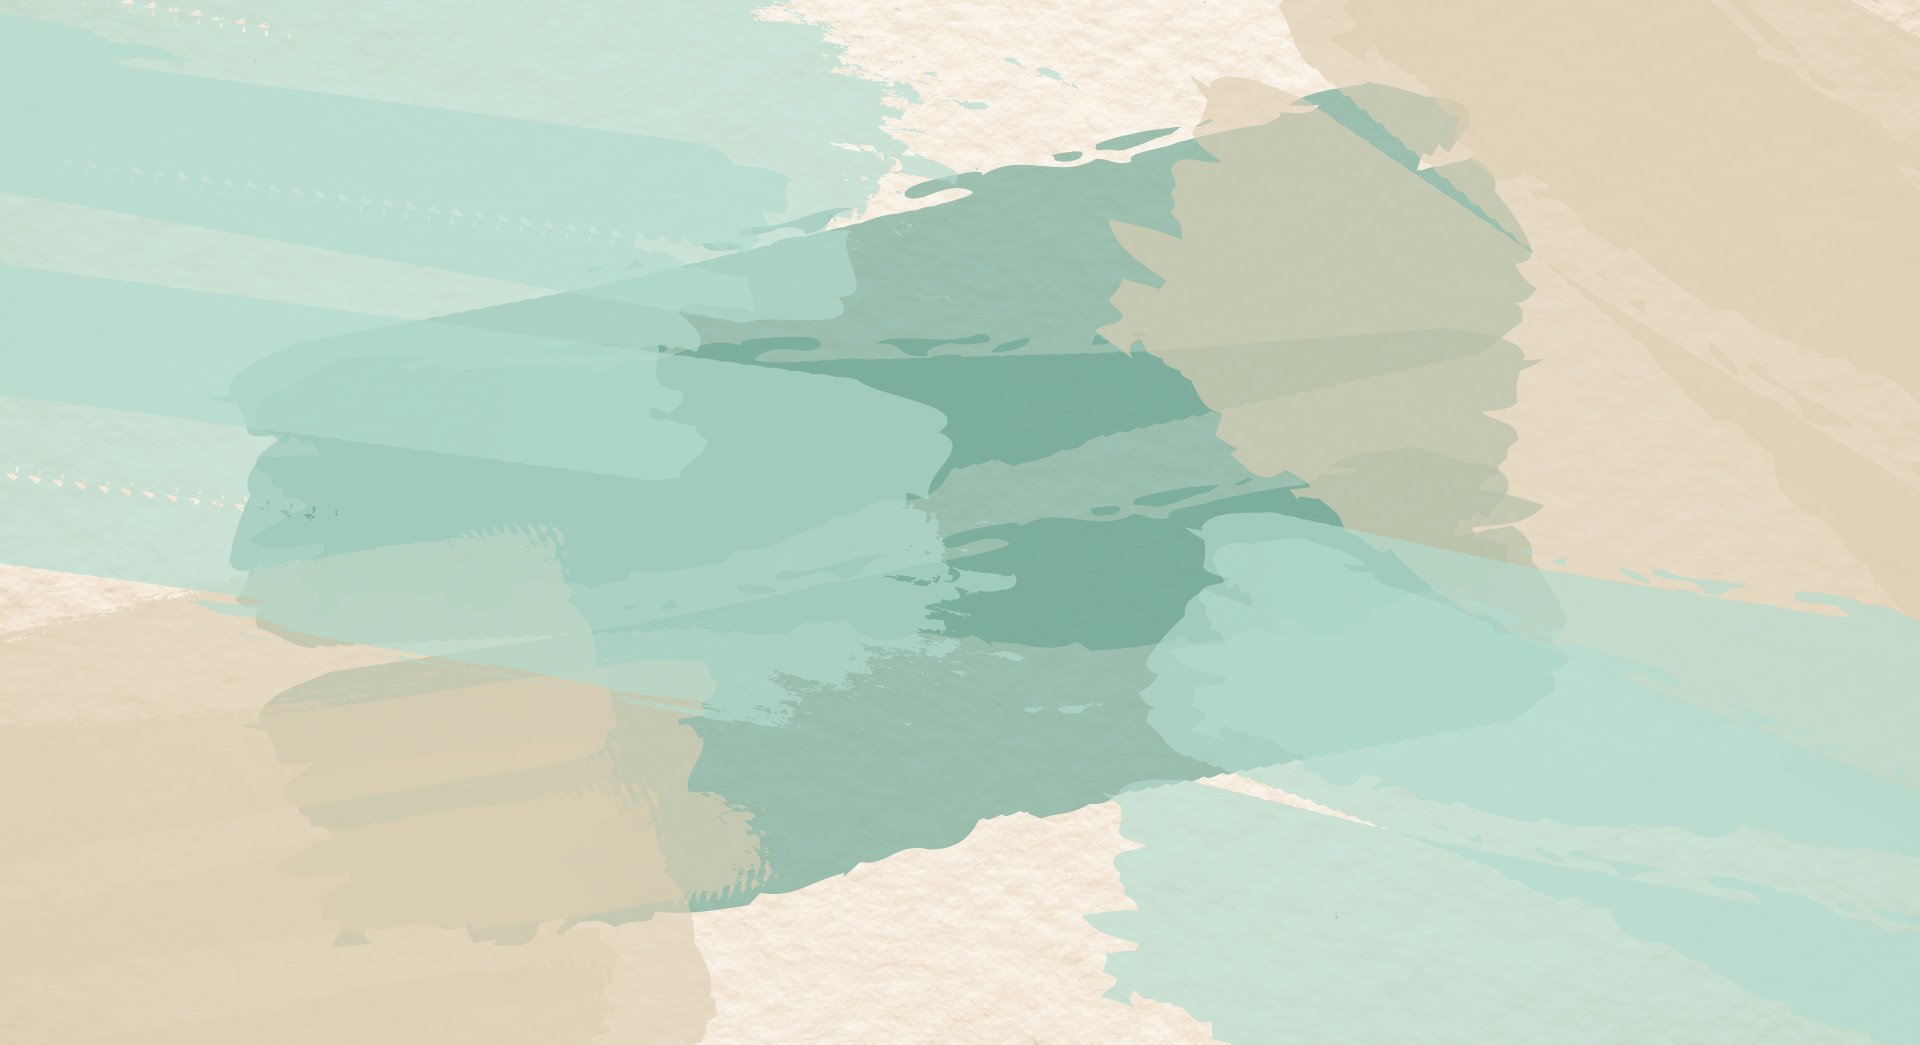
Background image
For your background image, consider using a simple repeating pattern or gradient, such as a single identical flower or one type of animal (cat, dog, etc.) in the same position and facing the same direction. This can help your event registration page look more vibrant without being overly distracting. Be sure also to choose a color for your background that doesn’t evidently clash with the color of your banner image. Always keep your brand in mind (as well as the type of event you’re announcing and the “theme” of the event, if applicable) when choosing these images and make sure all images are high-resolution (not blurry).
More Background Image Tips:
- Size 1920 x 1045 pixels
- Once you upload your image play around with our blur tool to get your desired look
- Don’t have a background image? No problem! Click the ‘use your banner image’ button

Logo
Your logo is one of the most powerful ways to promote your brand. Therefore, it’s critical to ensure it’s clearly visible on your event page. Choose a full-color image of your logo and make sure it’s added on top of a white background. Place it at the top of your banner and center it. The logo should be large enough for people to appreciate the image and words or letters on it.
Logo Size: 544 x 200 pixels
PRO TIP: If you’re having trouble finding images, use these FREE stock imagery sites to help you out.
Choosing the perfect hues
Color scheme
- Select your brand-specific colors
- Choose your darkest color for the ‘Primary Color’
- Choose your lightest color for your ‘Accent Color’
PRO TIP: Add this ‘ColorPickEyedropper’ Chrome extension to capture your exact brand colors. This extension will even generate complementary colors if you need them.
Event Description and Other Details
The description for your event should be lively and ideally be long enough to provide all of the basic information about it, but short enough to avoid giving everything away. Your event description should be about what your event is and who your event is for. Be clear on why someone should attend your event and have a digestible mix of text and images to keep your attendees engaged.
Other links and visuals you can include in your event description include:
- Add a video to preview your event for a potential event-goer. Keep the video short and sweet (no longer than 1 minute, whenever possible). This video can be a montage of past years’ events and include emotional music or it can be more lighthearted and look like a short, funny sketch. Again, be sure that whatever clip you choose is appropriate for the event.
- Add in your event website to allow the event-goer to find resources about your event
- Add your social media handles (Instagram, Twitter, etc.) to bring your event page to life and show that you are current. For Facebook links, you’ll have to include the full Facebook URL.
Merchandise & Other Attendee Items
Consider adding the option for your attendees to purchase some awesome merchandise and other items related to your event. Showcase those items by adding a high-quality image for each additional item you offer. This can entice your attendees to buy more merchandise.
Get Started Creating Your Event
A thoughtfully built event registration page can make all the difference in terms of drawing interest in your event. Regardless of the type of event you’re planning, (race, music festival, fundraiser, etc.) this is the first step toward establishing yourself as a successful brand. Once you’ve finished designing your page, be sure to preview it to verify that everything looks clear.
If you’re new to this process, the experienced team at Events.com can help guide you through our platform. Events.com is a mobile-first event management platform designed to help event organizers sell multiple different ticket types, create proposals for prospective sponsors, and promote events that result in a unique experience for organizers and attendees alike. Get started today by creating your event on Events.com or reach out to us at help@events.com to learn more.